It is simply possible with a CMD, VBS or POWERSHELL script to add, delete, move files which are on a file server provided by a classic SMB share.
With Sharepoint online storage, which comes in several uses (sharepoint site folders, a user’s OneDrive folder, and Teams team files), it is also possible to use scripts to add, delete , move files to online storage.
The Microsoft Pnpn.PowerShell powershell module allows you to do this quite simply.
Install PnP.PowerShell module
The PnP.Powershell module replaces the old SharePointPnPPowerShellOnline module.
To install the new module, you must uninstall the old one if it is installed:
Uninstall-Module -Name SharePointPnPPowerShellOnline -AllVersions -Force
Then install the new module:
Install-Module -Name PnP.PowerShell

Connect to MS365 and verify user application permissions
Once the module is installed, you must check the authorization of this module which will need to use Graph components. Depending on the security configuration of your tenant, different cases are possible.
A simple verification method is to make a connection to the tenant’s Sharepoint with the account of the user who will need to use the PnP.Powershell PowerShell API.
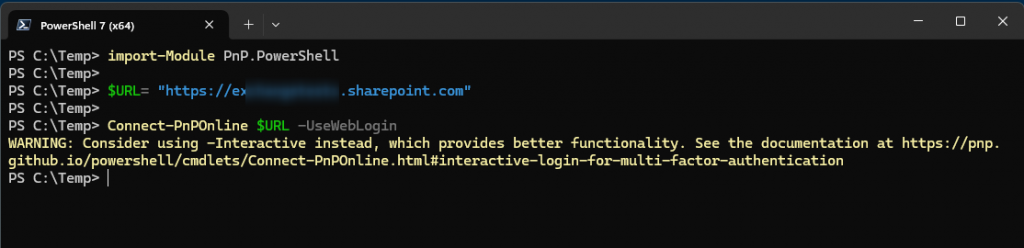
In PowerShell, you will try to connect to the Sharepoint of the MS365 tenant with the following commands:
import-Module PnP.PowerShell
$URL= "https://<tenant_name>.sharepoint.com"
Connect-PnPOnline $URL -UseWebLogin
If all goes well, the connection will be accepted.
Notes : The last version of Pnp.Powershell module is compatible only with Powershell 7.
If the connection is refused, there may be the following cases:
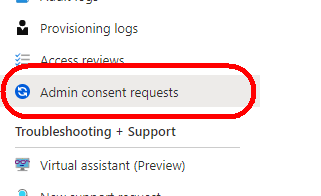
A consent request will be displayed. The user will have to validate this consent request and the tenant administrator will be able to authorize the application for the user in the Azure Active Directory admin tool.
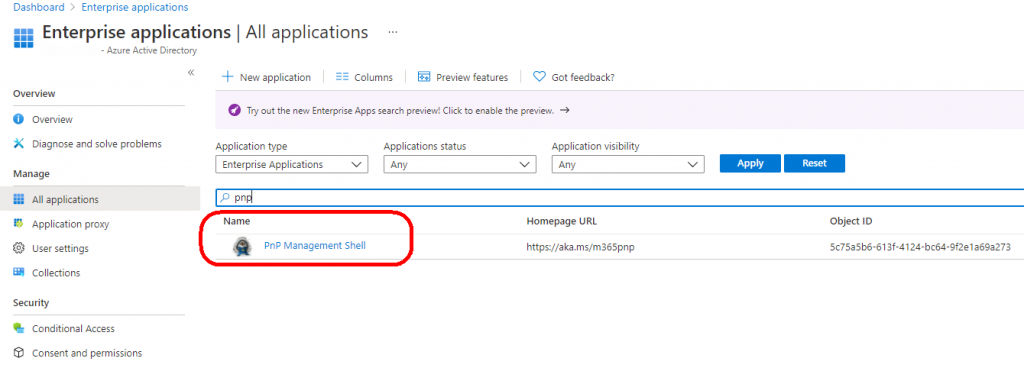
The application will then be manageable in the list of enterprise applications:
It is also possible that the consent request is not offered directly during the first connection. In this case, validation by code is requested before being able to access the consent request. In this case during connection, a message is displayed asking the user to validate his request with a “code” via a specified URL.
Use PnP.PowerShell commands to manage files
To use PnP.PowerShell, you must establish a connection to a Sharepoint endpoint.
For access to ONEDRIVE:
$URL = "https://<tenant_name>-my.sharepoint.com/personal/
For access to files in a TEAMS team:
$URL = "https://<tenant_name>.sharepoint.com/sites/MyTeams/Documents partages"
For access to a SHAREPOINT site:
$URL= "https://<tenant_name>.sharepoint.com"
The first command to connect is:
Connect-PnPOnline $URL -UseWebLogin ou Connect-PnPOnline $URL
To list the contents of a folder (subfolders and files):
Get-PnPFolderItem -FolderSiteRelativeUrl "/Documents partages" -ItemType Folder
Get-PnPFolderItem -FolderSiteRelativeUrl "/Documents partages" -ItemType File

To download a file:
Get-PnPFile -Url "/Documents partages/Mon dossier/Mon Archive.zip" -Path c:\temp -Filename "Mon Archive.zip" -asFile -Force

To upload a file:
Add-PnPFile -Folder "/Documents partages/Mon dossier" -Path "C:\Temp\archive.zip"

To delete a file:
Remove-PnPFile -SiteRelativeUrl "Documents partages/Mon dossier/archive.zip"

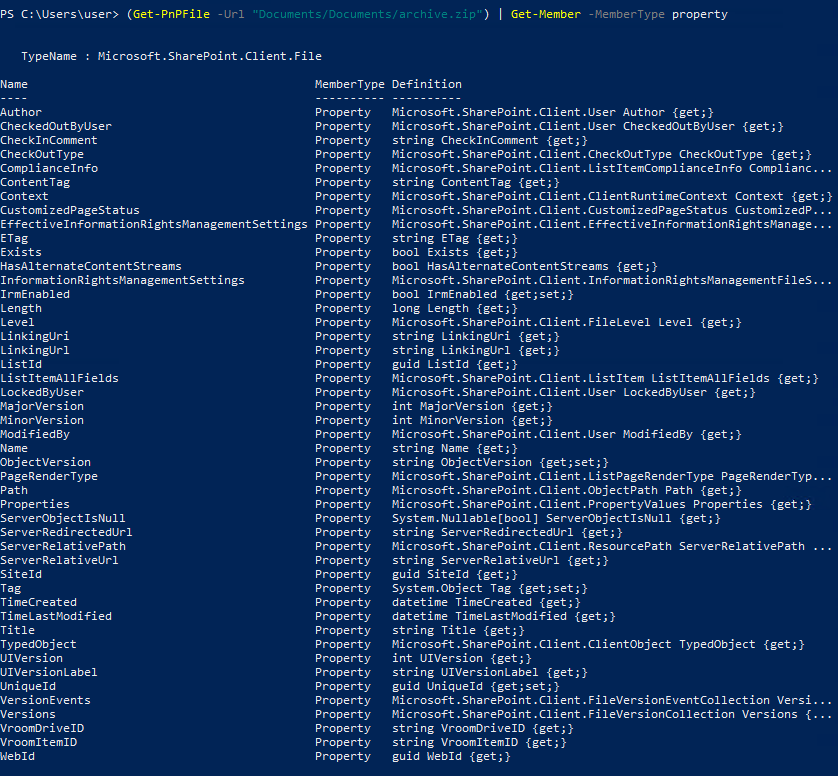
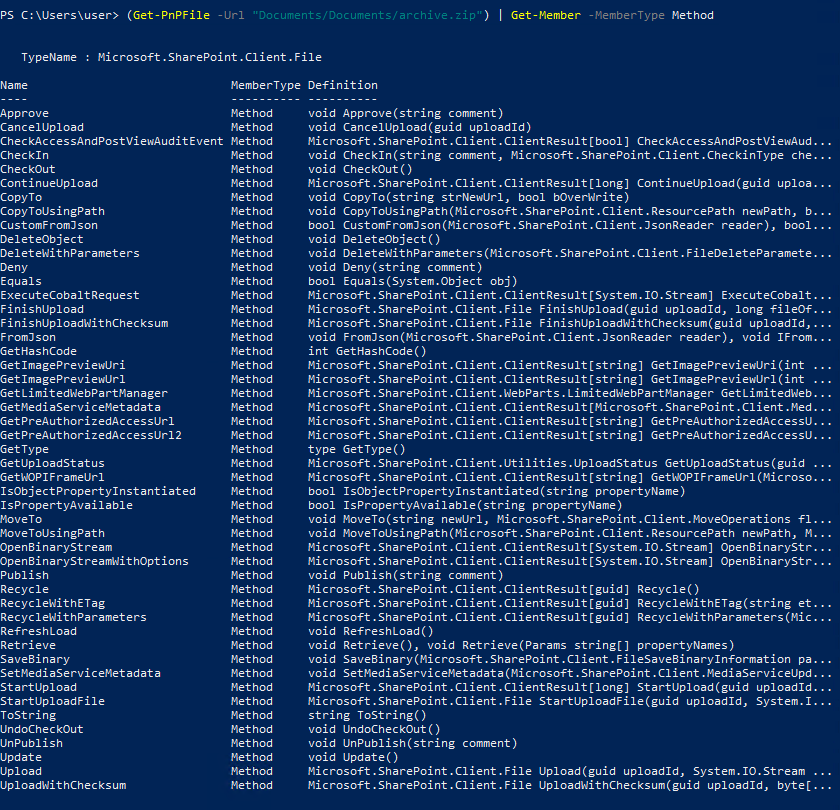
To access the different methods and properties of a file:
(Get-PnPFile -Url "Documents/Documents/archive.zip") | Get-Member
By Lionel TRAVERSE
Microsoft 365 Certified / MVP Microsoft 365 & Graph