You can use PowerShell and Microsoft Graph API to configure, manage, and monitor a Microsoft 365 tenant. Several connection methods exist: you can authenticate with an account, use an app that relies on a secret or certificate, or rely on a managed identity when your scripts run inside an Azure resource such as a virtual machine or an automation account.
In this article, I show how a managed identity in Azure Automation can run PowerShell scripts that interact with Exchange Online.
Create Automation Account
Start by signing in to Microsoft Azure so you can create an Automation Account.
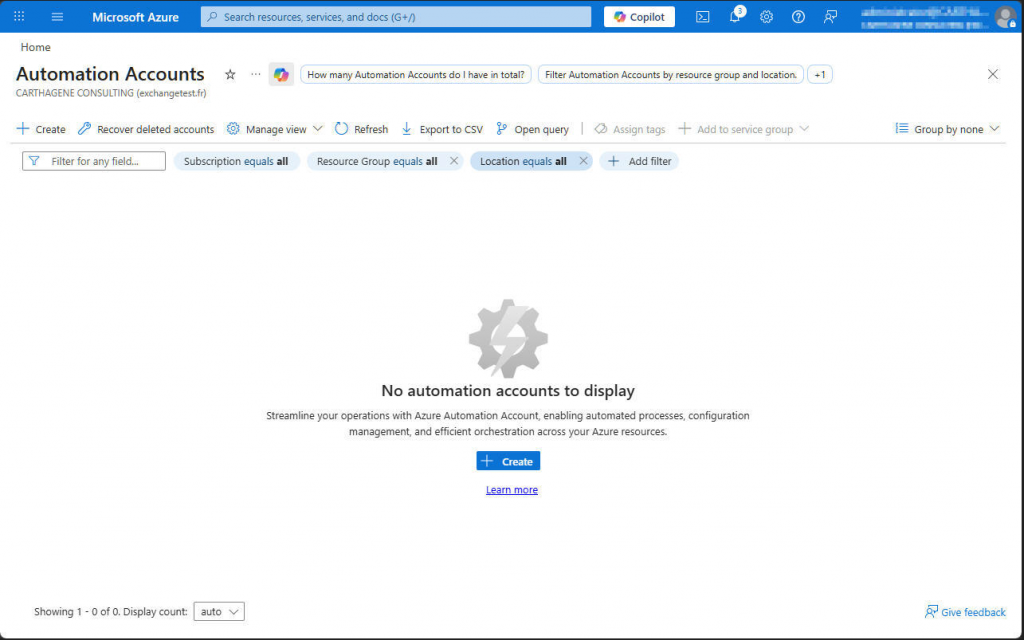
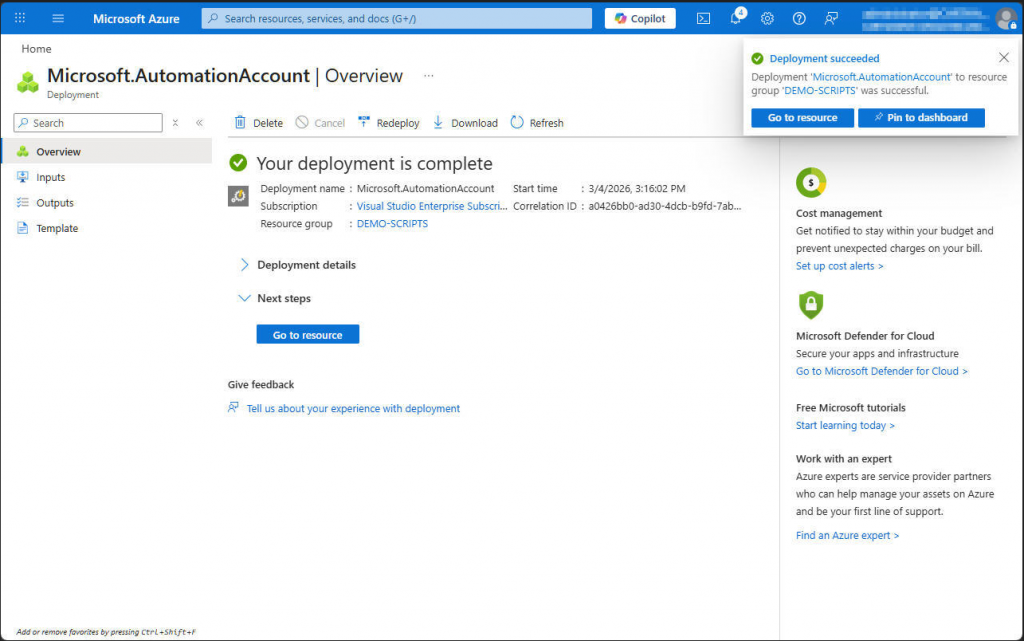
Select your subscription, select or create a resource group and define name and region of your new automation account.

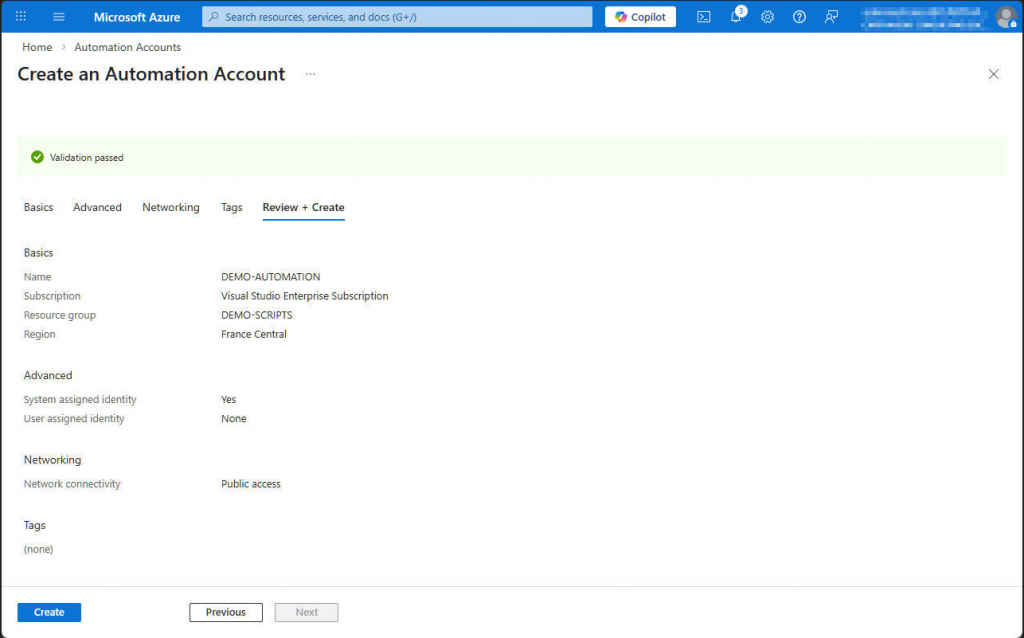
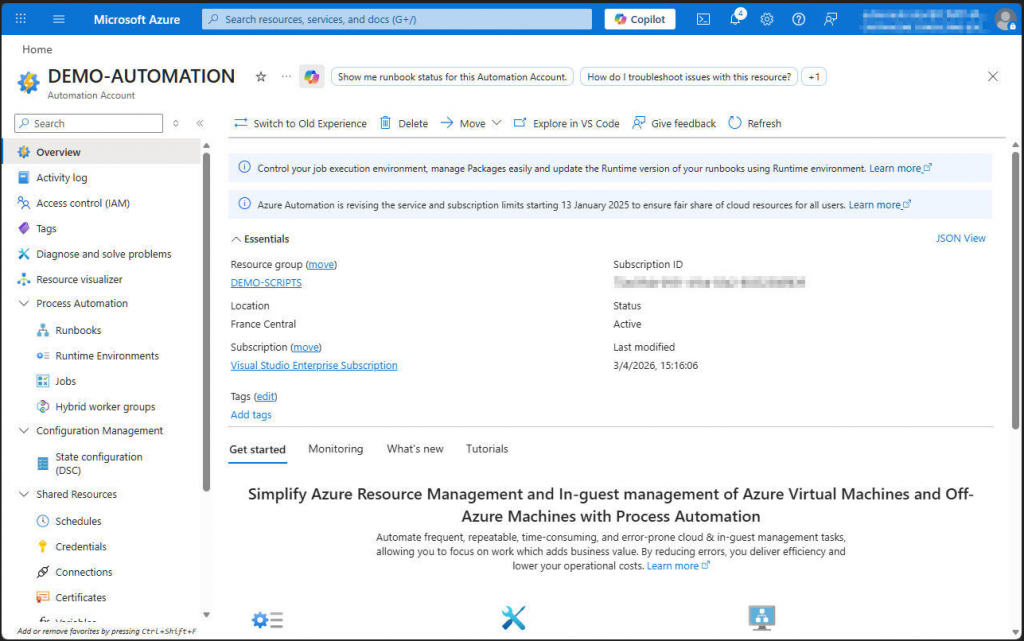
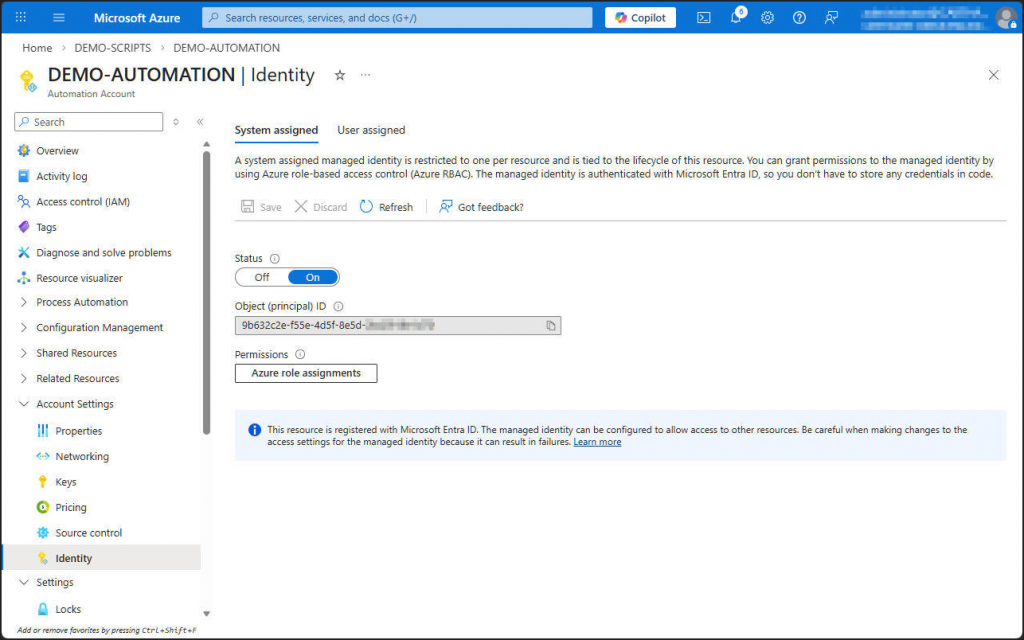
Make sure the automation account’s managed identity is turned on in Account Settings > Identity > System Identity.
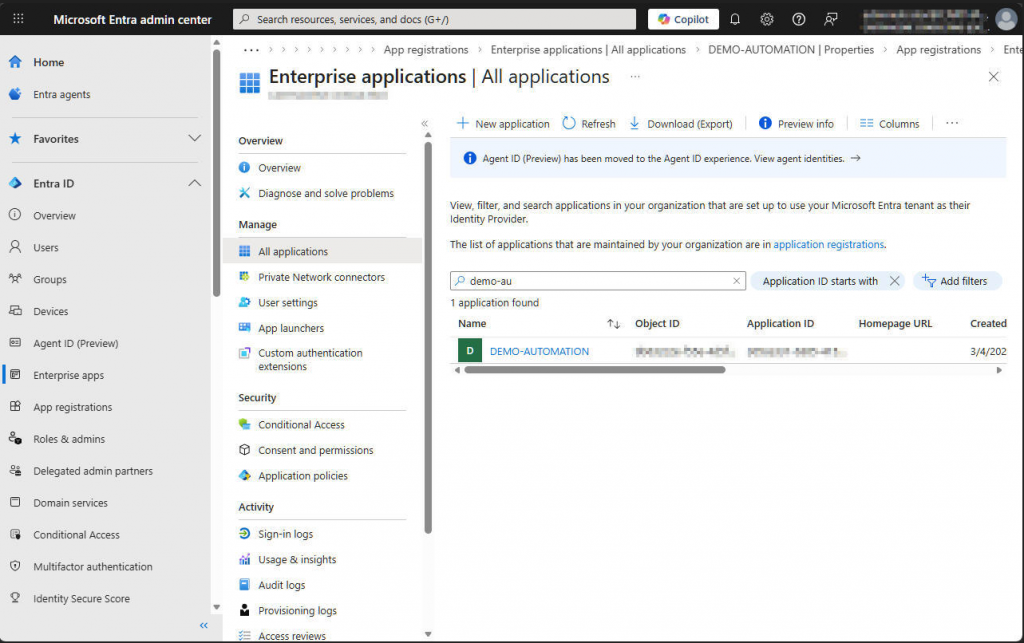
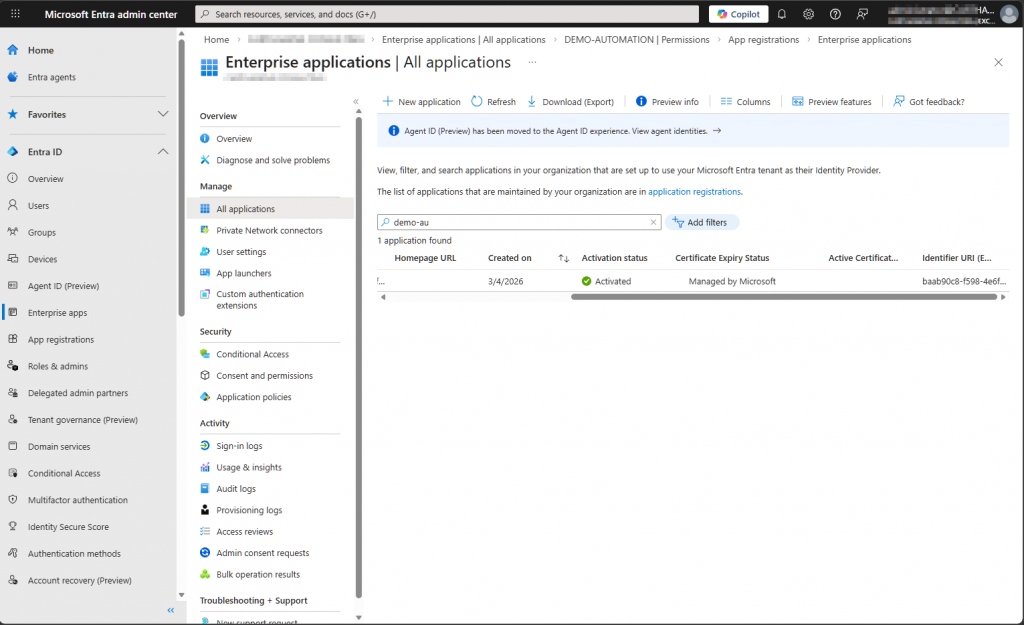
You can then see the managed identity in Entra under Enterprise Applications. This identity appears as an app that uses a certificate, and Microsoft automatically manages that certificate. The private key never leaves the Microsoft 365 tenant, and this restriction ensures a high level of security.
Grant permissions to the managed identity
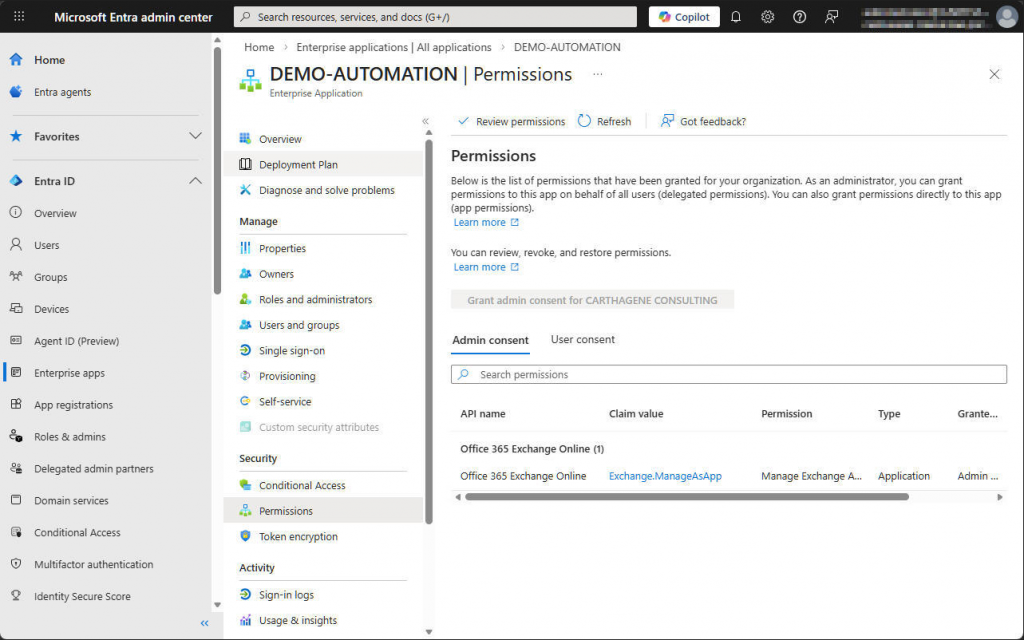
Now we need to give permissions to the managed identity. In this example, we use the Exchange PowerShell module. To let the managed identity work with this module, we first assign the Exchange.ManageAsApp permission and then grant an Exchange or tenant role. In our case, we choose the Global Reader role.
We add the Exchange.ManageAsApp permission by running Microsoft Graph PowerShell commands.
Connect-MgGraph -Scopes AppRoleAssignment.ReadWrite.All,Application.Read.All
$MI_ID = (Get-MgServicePrincipal -ServicePrincipal <managed_identity_object_id>).Id
$AppRoleID = "dc50a0fb-09a3-484d-be87-e023b12c6440"
$ResourceID = (Get-MgServicePrincipal -Filter "AppId eq '00000002-0000-0ff1-ce00-000000000000'").Id
New-MgServicePrincipalAppRoleAssignment -ServicePrincipalId $MI_ID -PrincipalId $MI_ID -AppRoleId $AppRoleID -ResourceId $ResourceID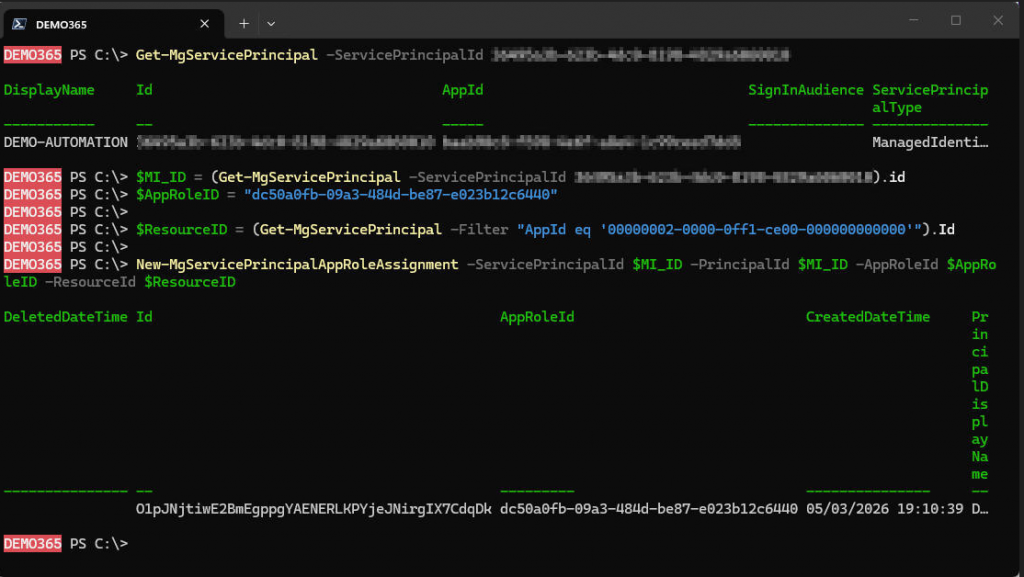
Check that the permission has been correctly configured on the enterprise app.
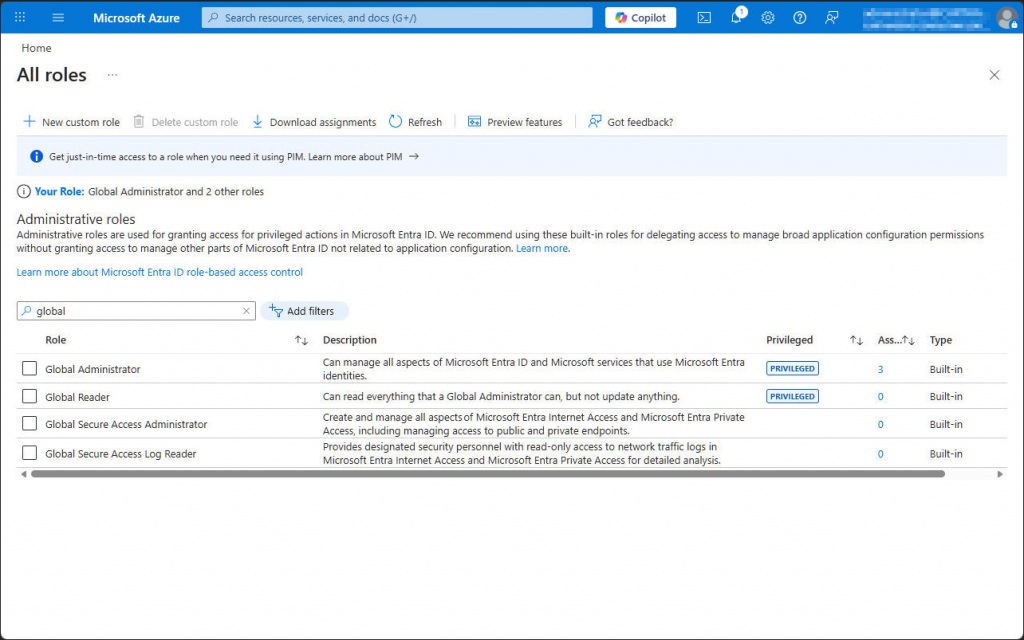
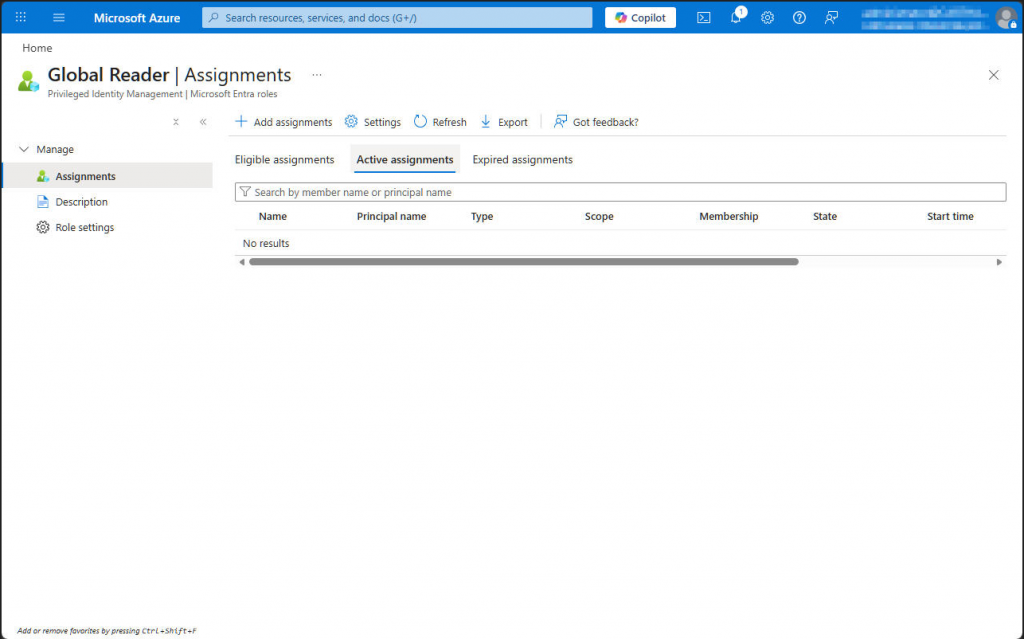
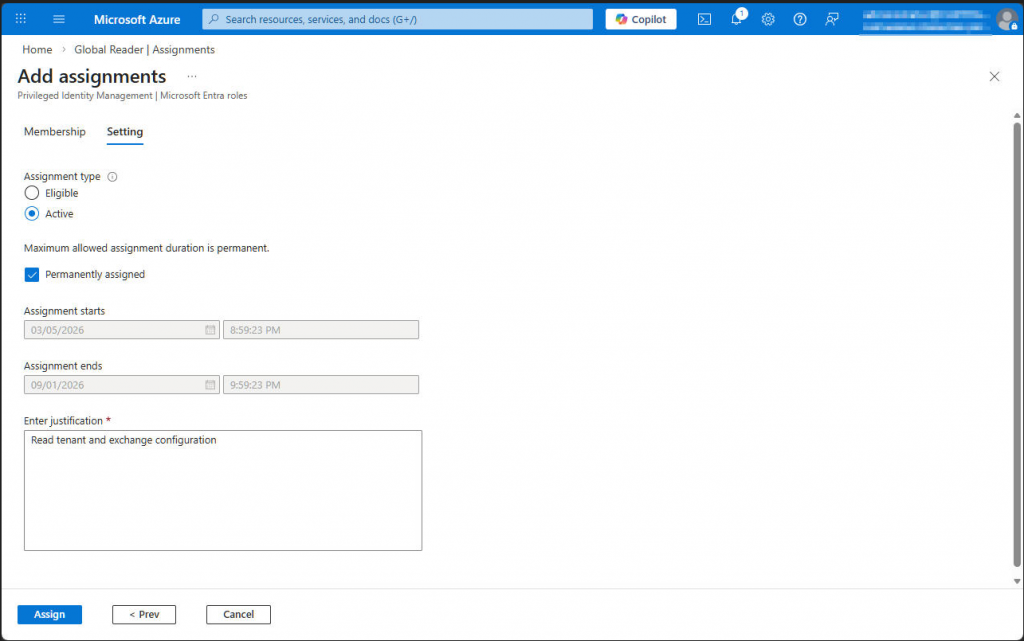
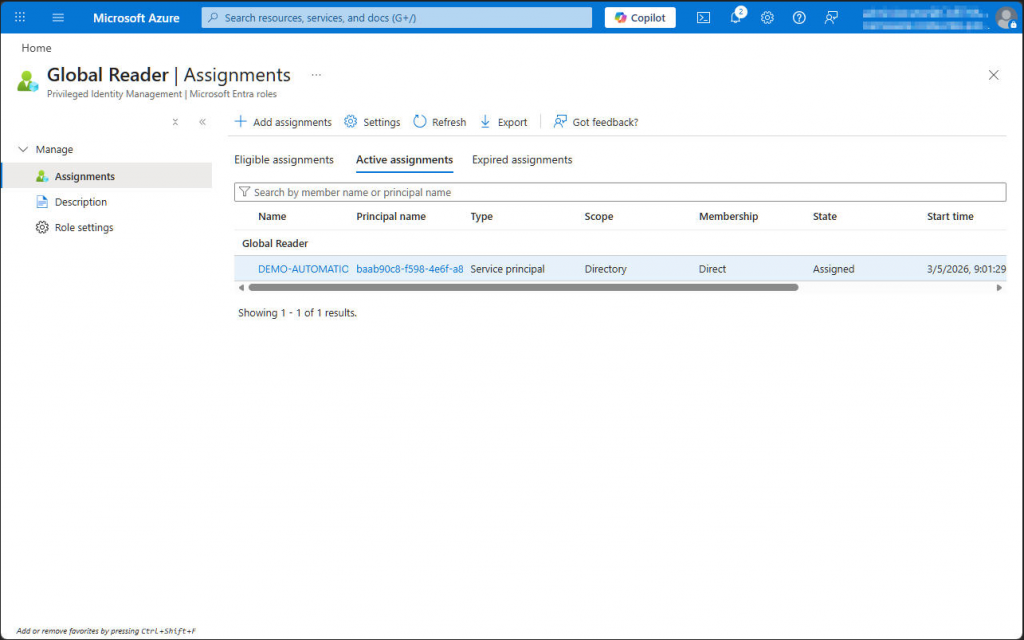
Let’s assign a role to the managed identity. In our example, we use Global Reader.

Integrate Exchange PowerShell modules
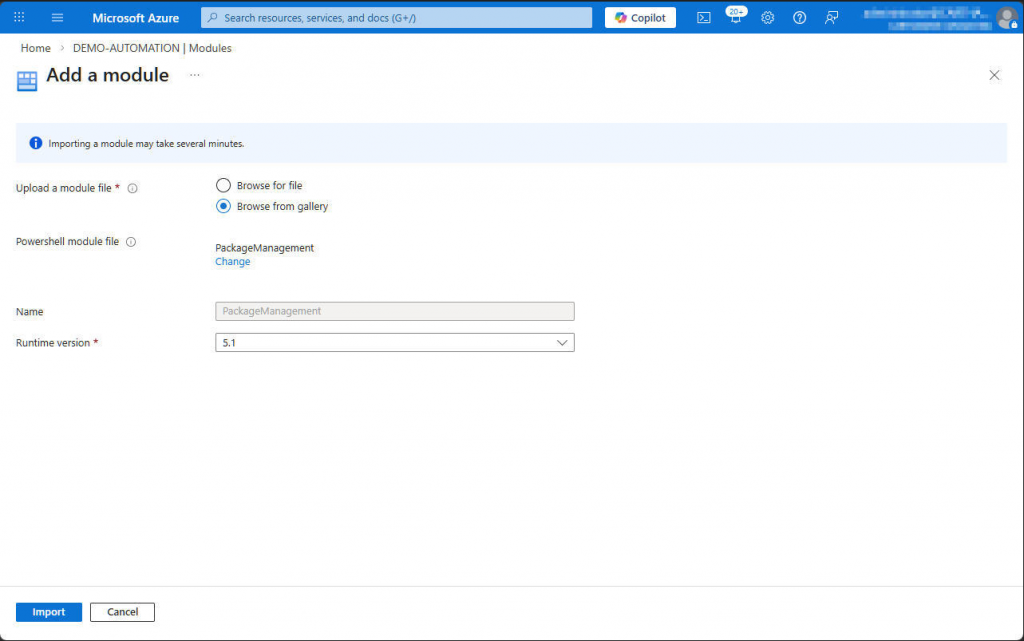
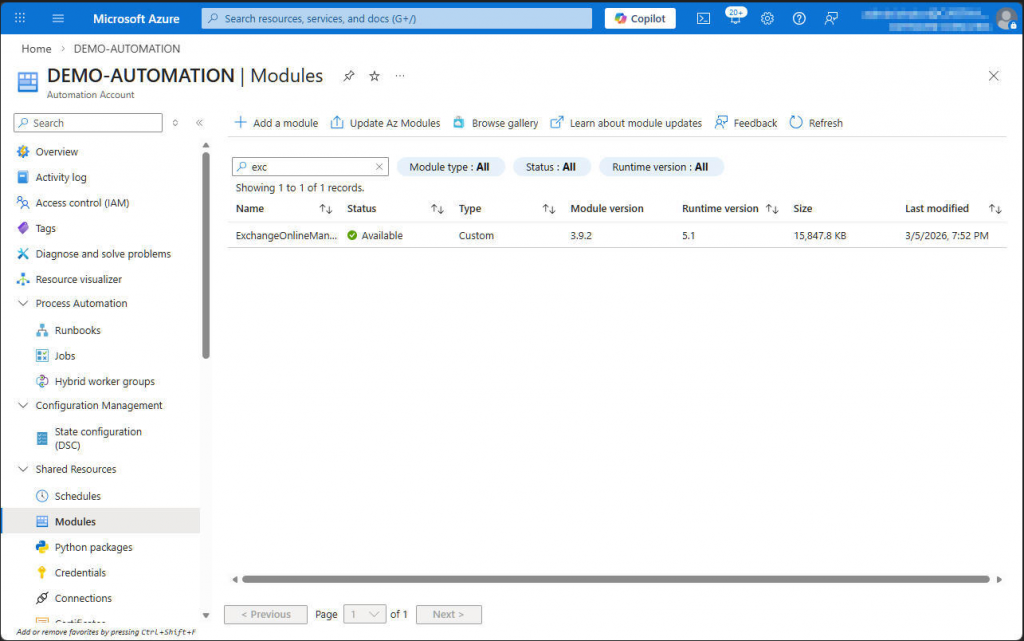
We’ll start by adding the Exchange modules and their dependencies to the automation account. Declare the dependencies in the correct order and wait until each module is fully enabled before you add the next one. Keep in mind that you can do this in two different ways: in the classic interface, you can attach modules directly at the automation account level, while in the new interface you first create a PowerShell context and then add the modules to that context.
The modules you need are PackageManagement, PowerShellGet, and ExchangeOnlineManagement.


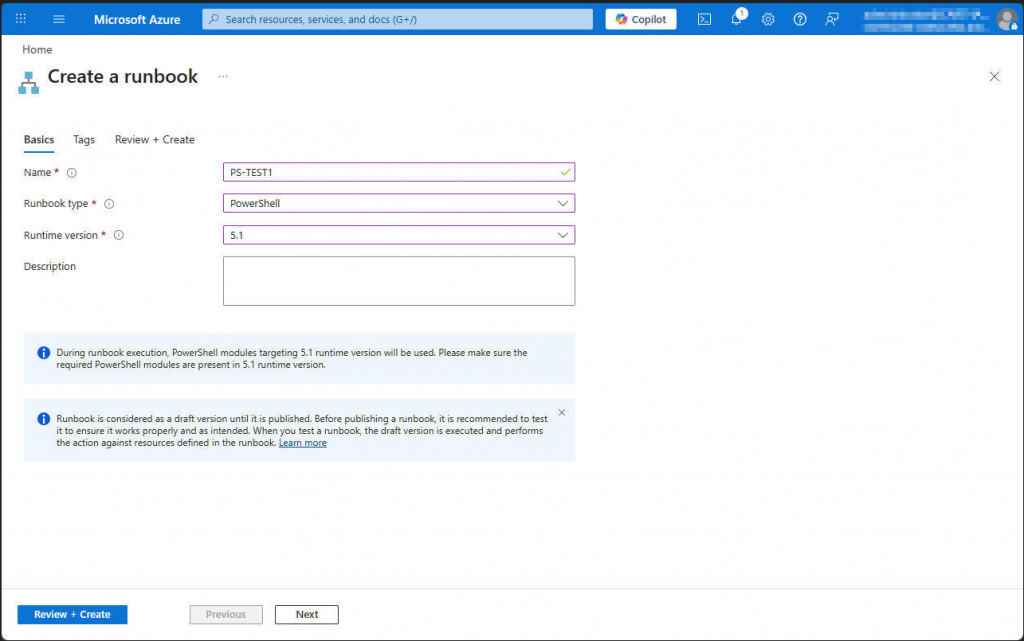
Create and execute a runbook
We will now create a runbook that contains a PowerShell code designed to read information from Exchange using the managed identity.
Test with this sample code.
Import-Module ExchangeOnlineManagement

Write-Output '### Begin script'

Write-Output '### Connect to Exchange Online'
Connect-ExchangeOnline -ManagedIdentity -Organization <tenant>.onmicrosoft.com

Write-Output '### List recipients'
(Get-Recipient) | select DisplayName, RecipientTypeDetails | Write-Output

Write-Output '### Disconnect from Exchange Online'
Disconnect-ExchangeOnline -Confirm:$false

Write-Output '### End script'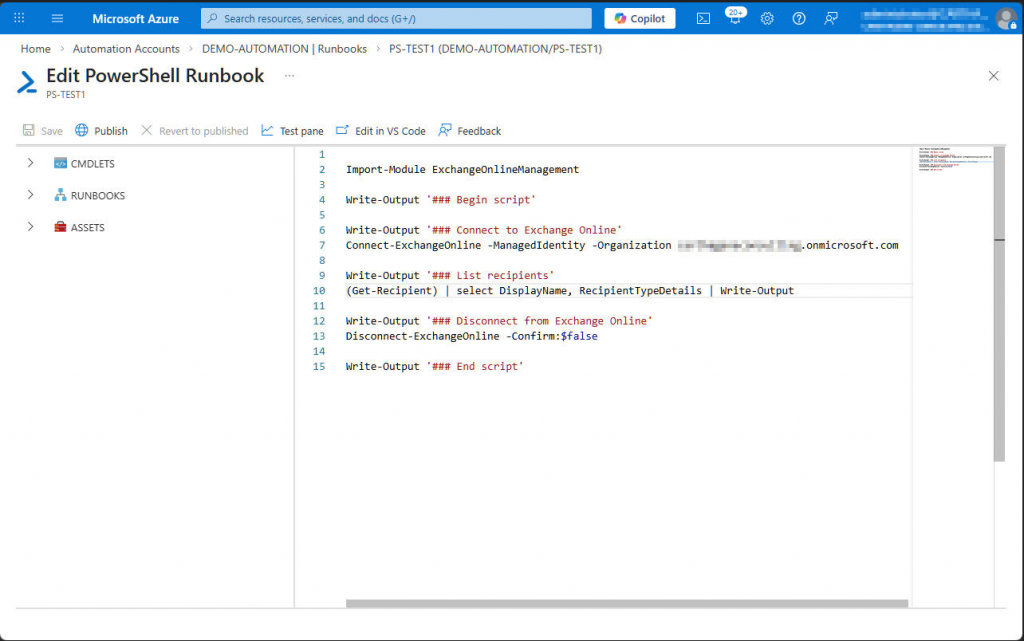
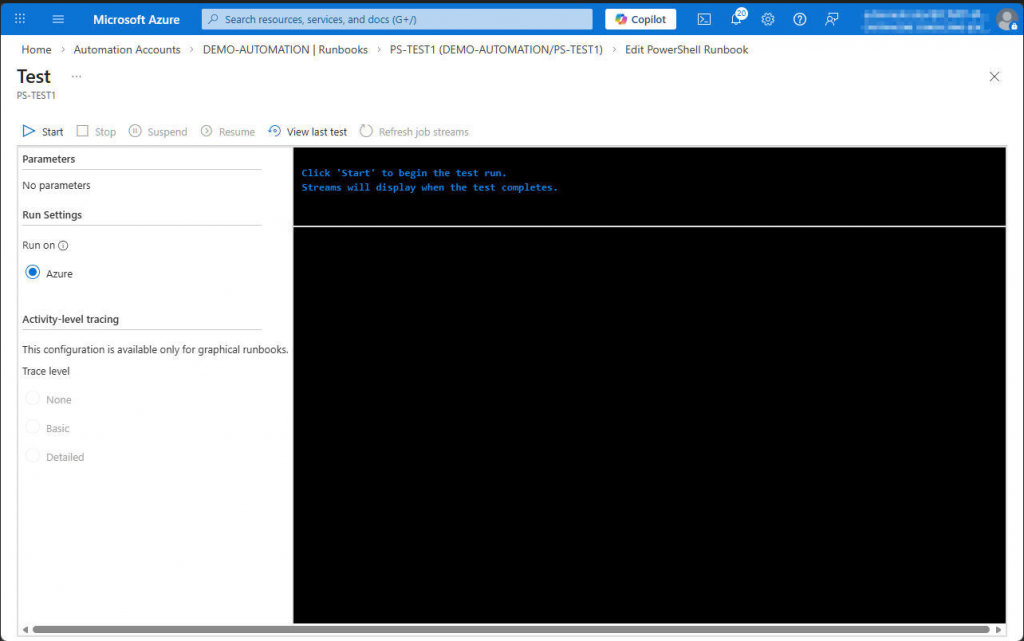
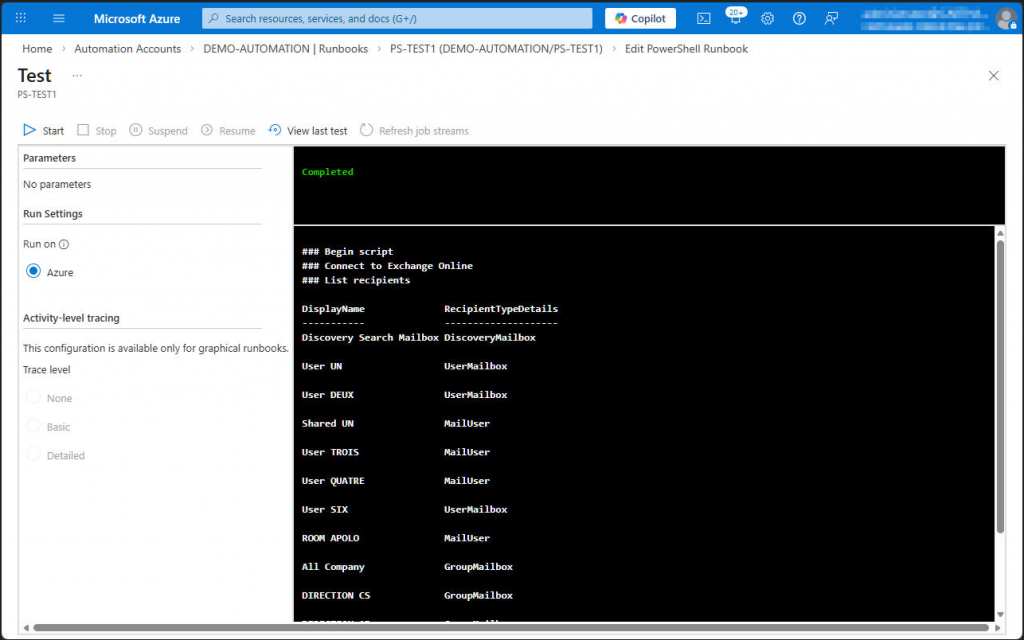
Execute the script in the test pane.
The result should allow us to display the output of Exchange PowerShell commands executed using the managed identity, which provides enhanced security because the certificate associated with this identity cannot be exported.
By Lionel TRAVERSE
Microsoft 365 Certified / MVP Microsoft 365 & Graph